
The process of stretching a canvas is an enigma to most people. Sure there are some wooden bars and a few staples involved, but what really goes on behind the stretching of a canvas? Although this process is not rocket science, there are a few key steps that help ensure a piece of artwork will be correctly lined up and hold enough tension to display the imagery accurately. Here at the gallery we stretch dozens of pieces every week!
Our process begins with the linen canvas to be stretched
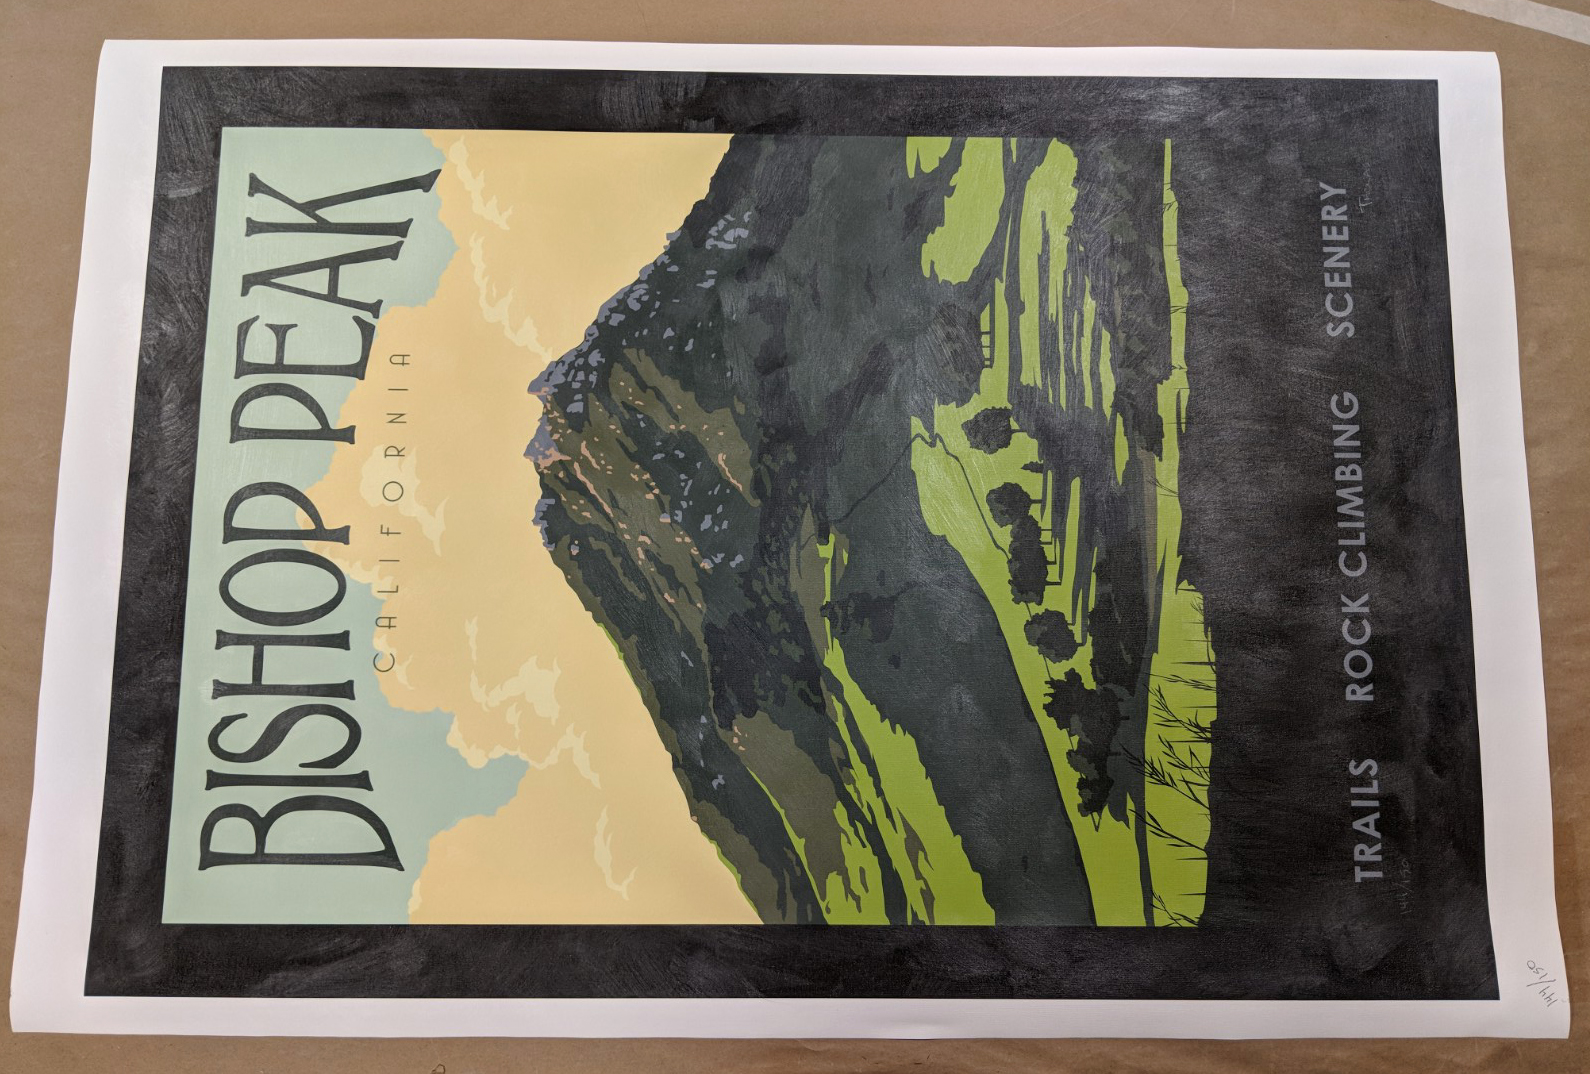
Bishop Peak Limited Edition Print on Canvas

Wooden stretcher bars
1) The image area of the canvas is measured to ensure you have the right size stretcher bars.
2) Assemble to stretcher bars so that it creates the frame structure that you'll stretch your canvas on.
3) Measure from the edge of the image to the edge of the canvas, do this on all four sides of the piece, these measurements will help you correctly line up the stretcher bars on the back.

measuring the face of the canvas.

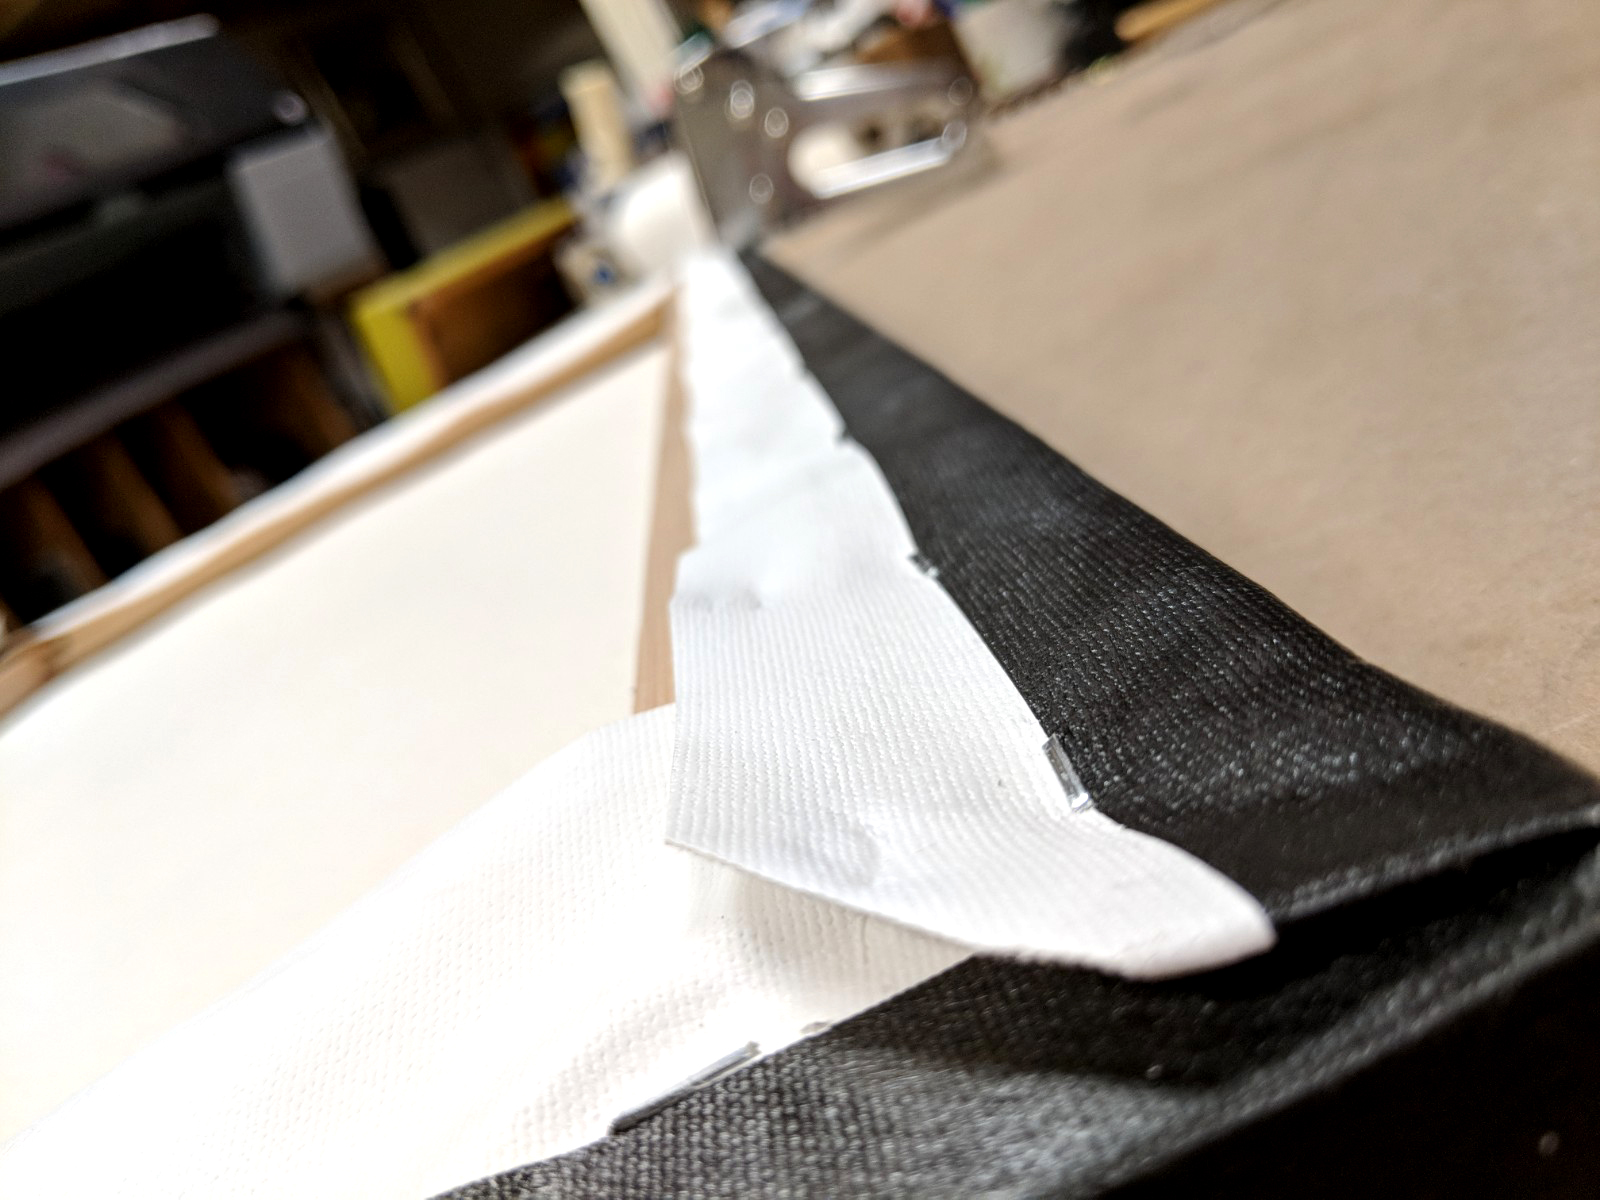
cuts made to reduce the fabric to be folded in each corner.
4) Working with this pattern also helps determine how much canvas will be cut in the corners in order to avoid bulging of the canvas where it gets tucked and folded on the corners when stretching.
5) Once everything is lined up the stapling begins. During this part of the process it is imperative to ensure the canvas is tensioned enough, so pull tightly! Constantly alternating which side is being stapled also helps you evenly distribute the tension along the face of the artwork.
6) Folding the corners of the canvas is like wrapping a special birthday present, you've already cut the bulk of the extra canvas out of the corner by using that pattern above. The top and bottom sections of the canvas should be folded first, then the sides are folded in and the extra fabric is simply tucked into the sides before the final few staples go in.

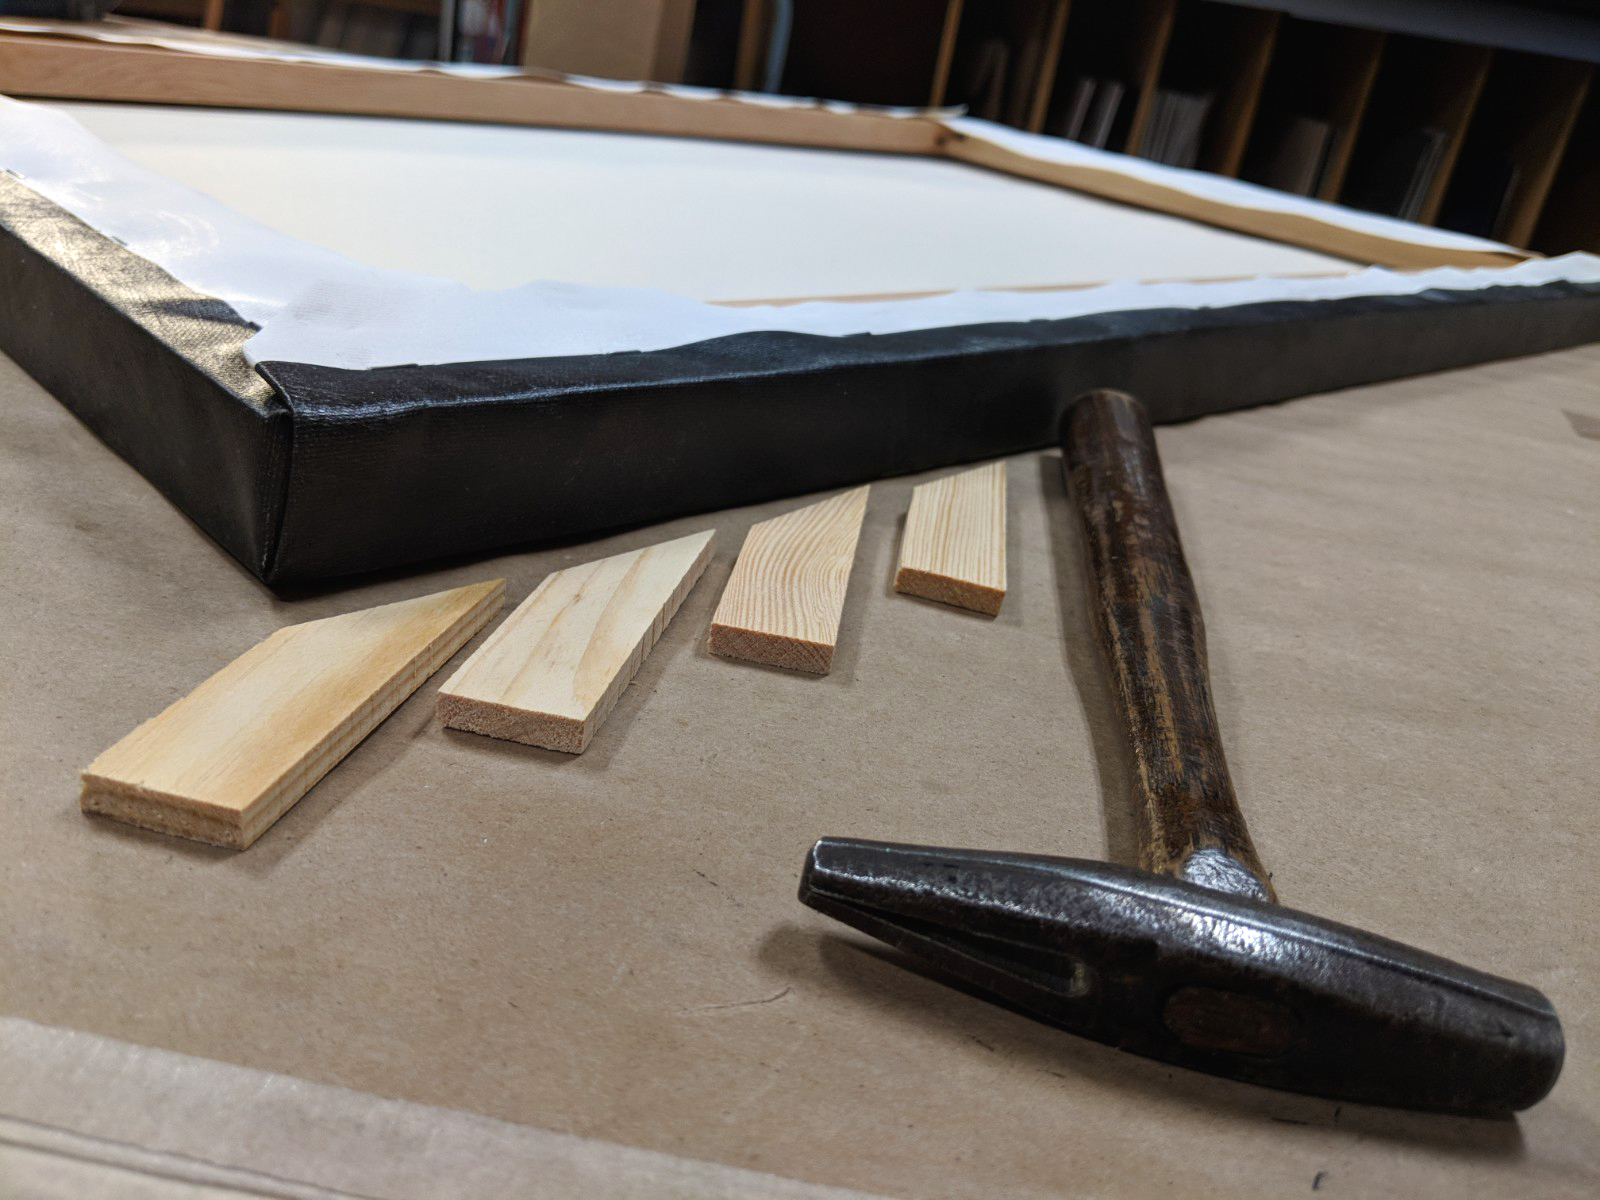
7) Once the stapling is done, corner keys are hammered into each corner. Once again, this helps ensure the canvas has enough tension, and it also allows for more tension to be easily introduced in the future without re-stretching the canvas. A small dab of wood glue on the corner keys will help keep them locked into place, keeping your canvas tight and looking good for many years.
8) As the final step at our gallery we like to back each canvas with black board in order to protect the back from dust. This also allows us to mount paperwork, certificates of authenticity, and even sometimes a dedication note from the artist which can give the artwork a more personal touch!


we use 1/4" staples for the linen and 3/5" for the backing.

Stretched canvas.
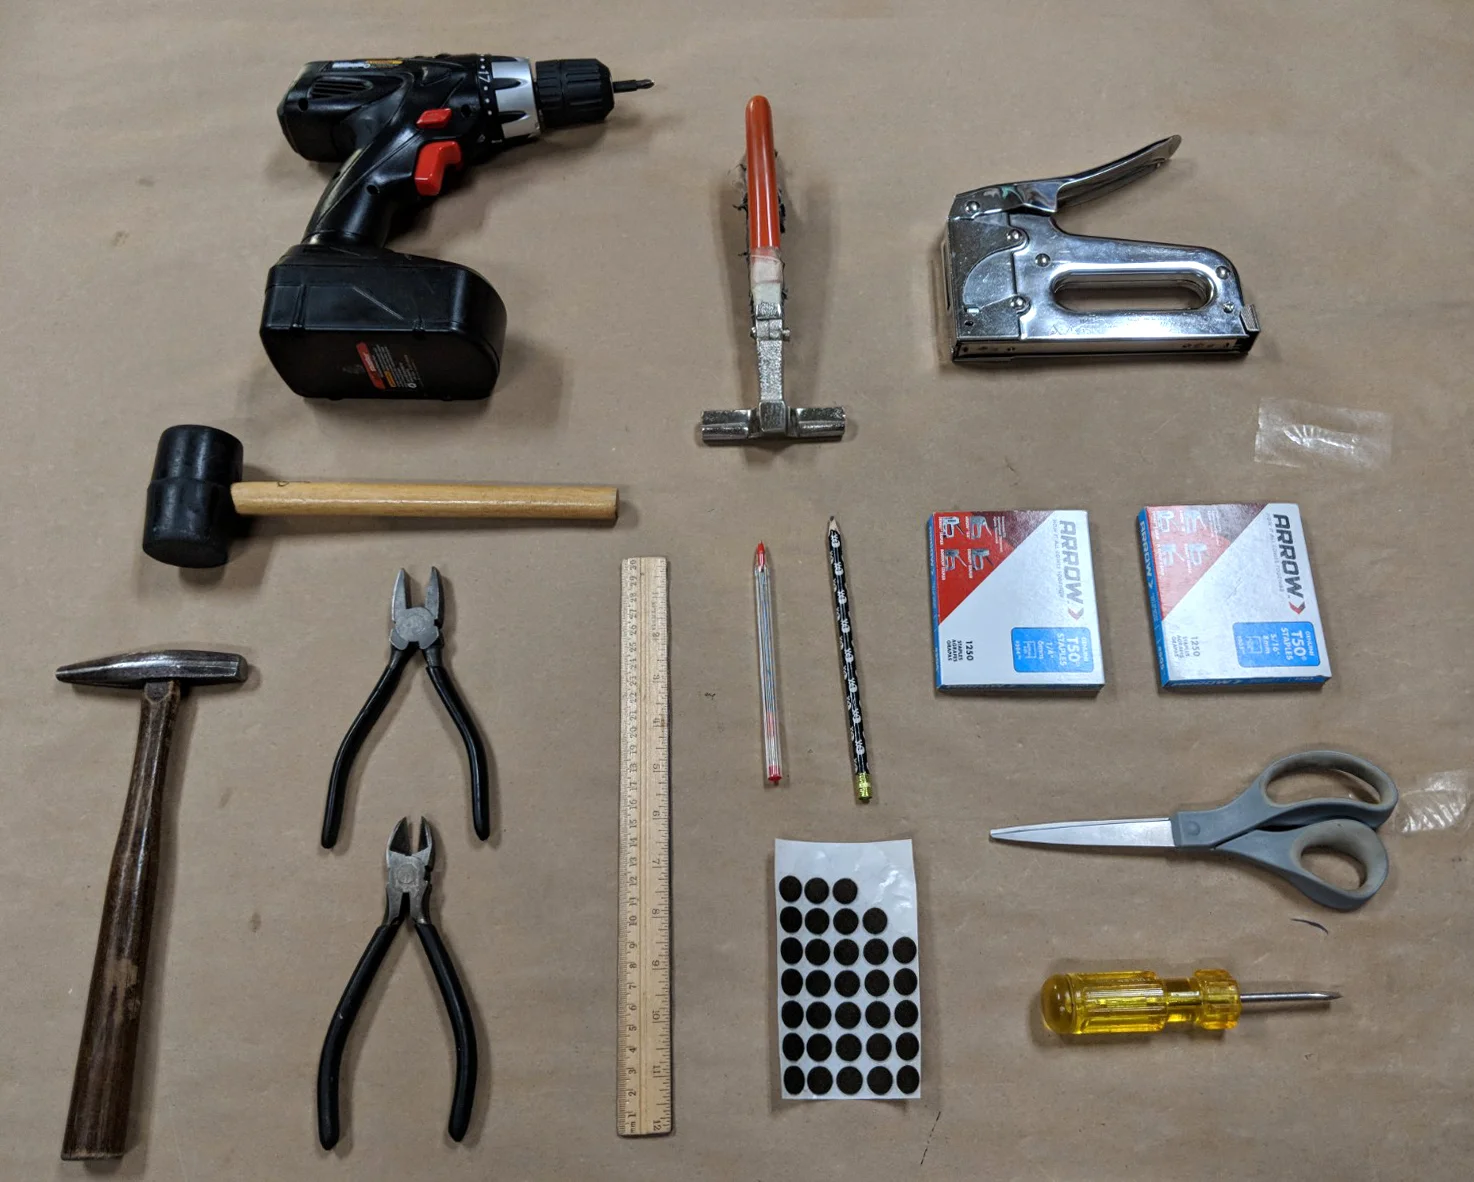
A special thanks to all the tools that make stretching canvas at our gallery possible!